Venetian dress
Kategori: Allmänt, Historic Sew Fortnightly 14
Right. So, when I began planning this project I thought I'd be finished before the Historical Sew Fortnightly challenge #5 had started, but things turned out as they usually do - late. So here goes.
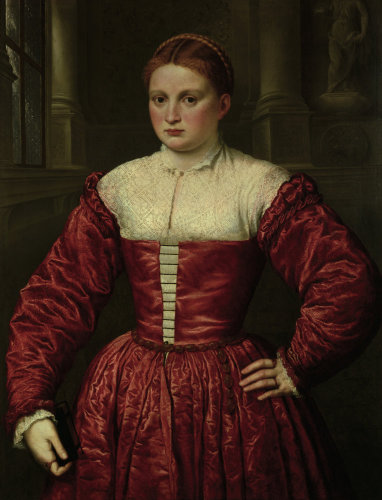
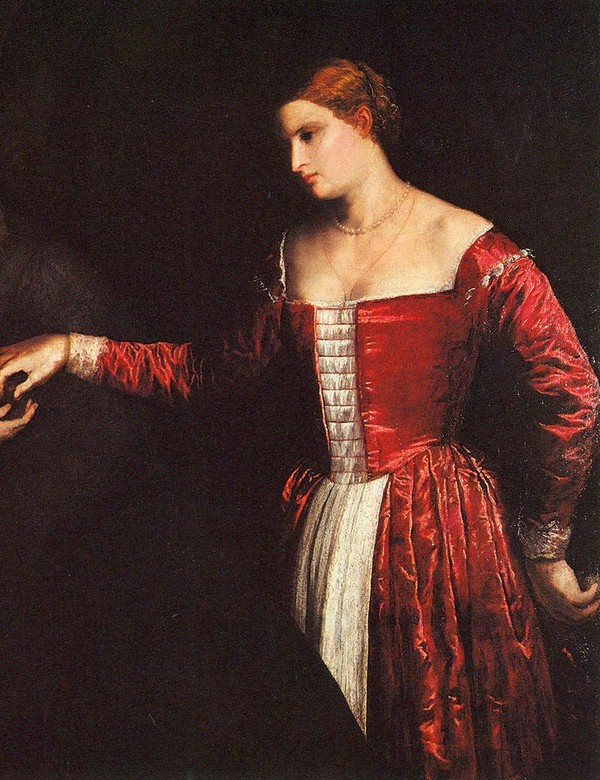
The inspiration: Venetian dresses from the first half of the 16th century. Apart from a lot of them being painted by Paris Bordone, they share a few common traits.
1. Open fronts or at least front closure. Essential to me, who am left to my own two hands and a mirror when it comes to fitting.
1. Open fronts or at least front closure. Essential to me, who am left to my own two hands and a mirror when it comes to fitting.
2. No pointed front, that seems to come late. A lot easier fit, and also "not what everyone else is having" - because I'm a special snowflake.
3. Fairly simple sleeves. Not a lot of slashes and puffed sleeves and Bob knows what, and I was - as always - short of time.

Paris Bordone 1530s: Portrait Of A Woman
(These sleeves might actually be possible - there's something going on behind her shoulders?)
(These sleeves might actually be possible - there's something going on behind her shoulders?)
Paris Bordone, 1545-50: Portrait of a Lady, tradionally said to be of the Fugger family
(These sleeves just defies gravity. EDIT: Someone with better eyesight than I pointed out that there actually are shoulder on this dress; it's only that the partlet covers the shoulders, likely pinned in place, but it tucked in the at the bust. No more gravity-defiance!)
Paris Bordone, c.1550: Portrait of a Lady and a Gentleman with their daugther (detail).
(Sleeves seems possible, but as if the shoulders might restrict movement. First I thought it was the camisia showing through - as in tied-on sleeves - but after closer scrutiny I think it's actually just a little bit of lace.)
So. To get started, I thought and thought and thought and then cried for help in the wonderful group Elizabethan costume on Facebook. They were ever so patient with me and I learned that corsets as foundations for these dresses would have been fairly unlikely in the first half of the 16th century. Too bad, since I made a pair of bodies last autum, but also easier. Secondly, I learned about glueing fabric - which I didn't have time or tools for. So I chose the cheaty option: pad stitching. Which was also a first for me.
As interlining, I used unbleached, fairly sturdy linen and some cloak wool from my stash (you know the triangles left over from semi-circular cloaks? Never throw them away!).
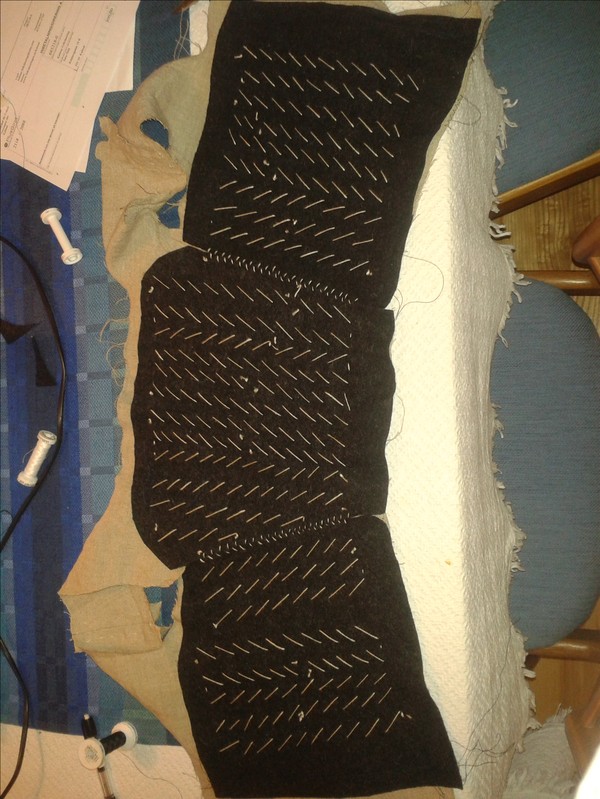
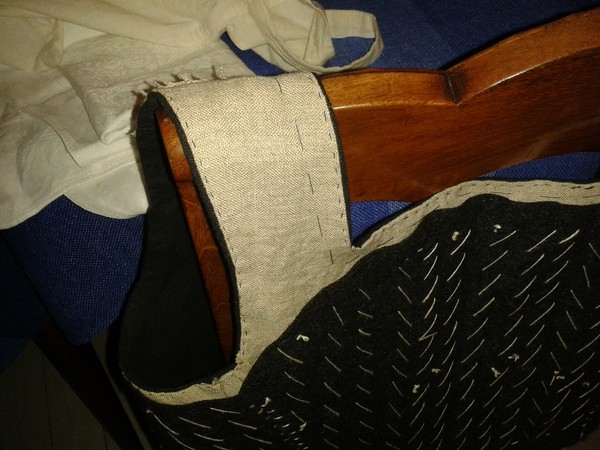
Step one: Pad-stitching the wool to the linen. I really don't know why this picture refuse to be rotated 90 degrees...
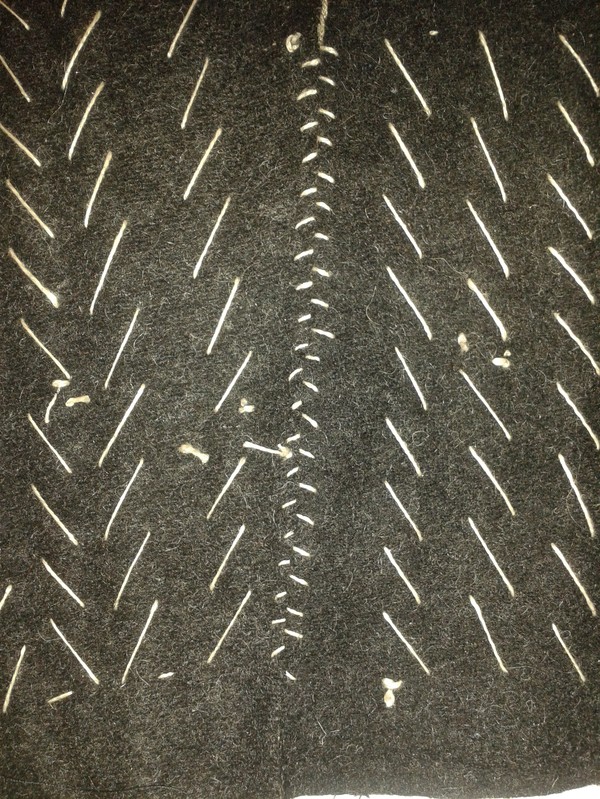
In order not to add bulk to the side/back seams I used this solution. No idea if it's period or not, but it worked.
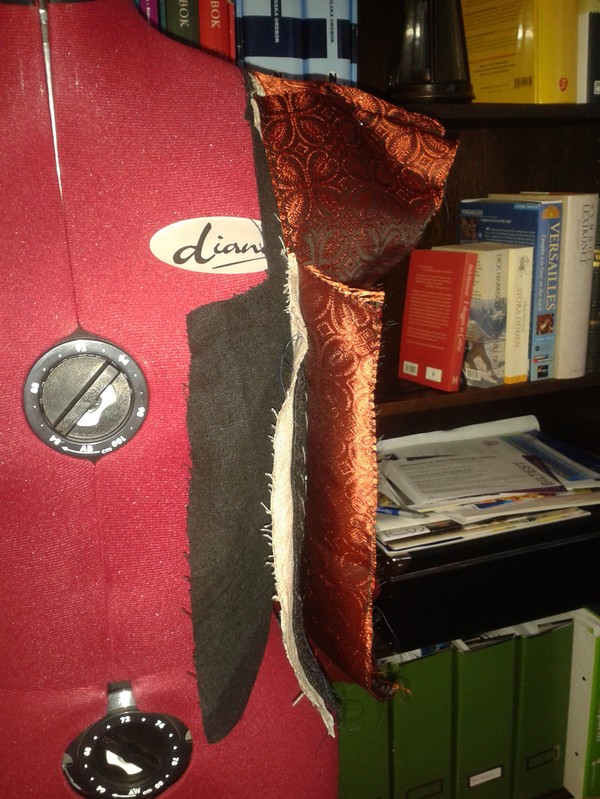
Interlining, lining and outer fabric layers pinned together, just to make sure the sizes are about right.

Trying the interlining on. As you can see, I added the ribbons for closing at this stage in order for the stitches not to be visible on outside fabric or lining. And to prevent the outer silk from bearing any weight/pull, if possible.
It was also at this stage I realised I somehow had miscalculated the seam allowance for the centre front - the gap was not supposed to be that wide! Alas, fabric was cut and time was short, so I had to live with it.
Lining attached to interlining.

Outer fabric attached. Fit is actually still ok. A few smal creases here and there, but nothin a heavy skirt cant fix. And by now I was really, really short of time; actual challenge, the bodice, about finished, but the dress - very much not so.
Next: Sleeves. I adapted a pair of doublet sleeves from the ever-useful Tudor Tailor and cut them in outer fabric and lining. In the picture you can also see my solution for that dreaded square lining; adding extra fabric instead of just folding the original one.

Lots of machine sewing going on here. I was really short of time. In the top of the picture the sleeve is turned with lining facing inwards and right side of outer fabric facing outwards, only thing left is to finish the sleeve at the wrist.
And, finally, the skirt. I have never before finished the bodice and skirt independently, and was slightly scared. Would it work? Again, I turned to the EC group for advice on the pleating. How did one manage before the internet?
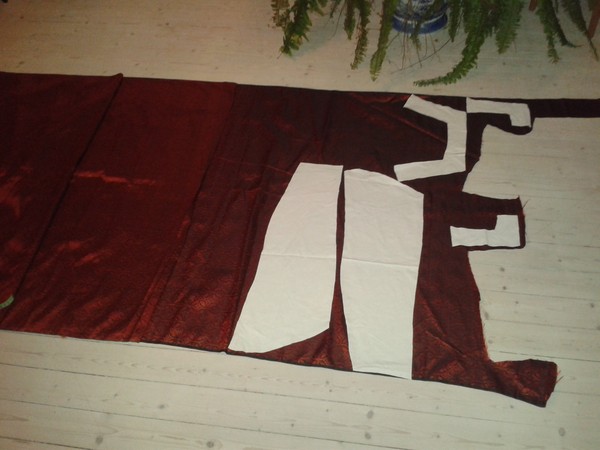
The skirt construction is simple enough: four widths of silk, and then I pieced the remaining black ramie into three panels of the same size and one panel out of three strips. I didn't know how lucky I was until I found out that I had about no fabric left after that (what if it hadn't been enough??).
I sew the outer fabric panels together, then did the same for lining panels, sew outer fabric and lining together, wrong sides facing, turned and pressed. This was to be the upper edge of the skirt.
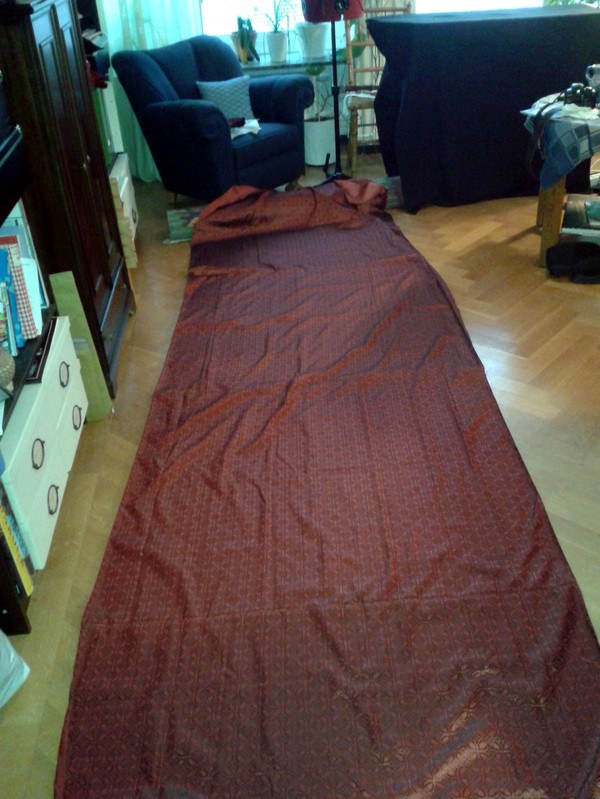
In a sudden strike of intelligence, I then pinned the hem. A lot easier to pin unpleated skirt!
 And pleating ensued. And repleating, because something went wrong the first time. In the end I decided that I had no clue how to make stacked box pleats and then gather them a bit (too much fabric!), so instead I stacked three boxpleats on top of each other. That allowed me to fit 4,5 metres of skirt into something that would fit the bodice.
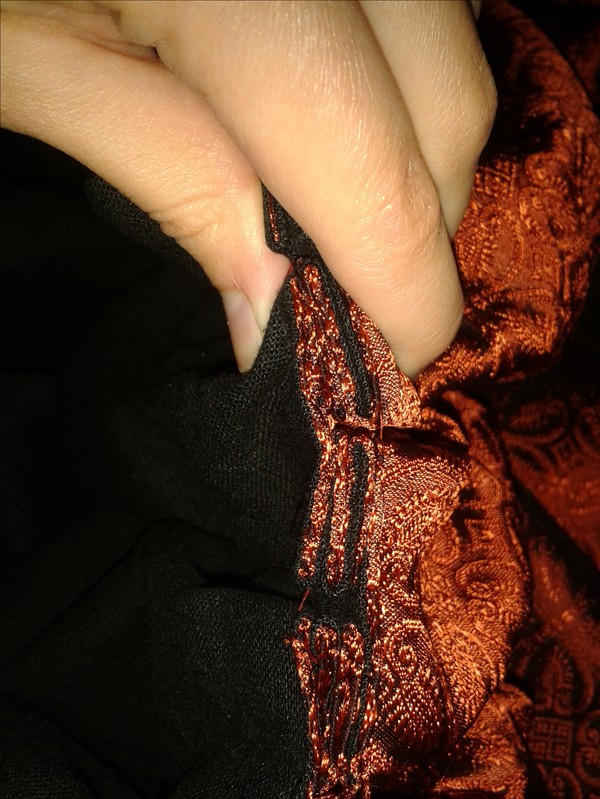
I then whipstitched the "outmost" pleat layer to the bodice, finished the seam that close the skirt in front (with a slit to be able to get in and out of the dress!), added a hook and eye to the top of the slit and called the thing a dress.
And pleating ensued. And repleating, because something went wrong the first time. In the end I decided that I had no clue how to make stacked box pleats and then gather them a bit (too much fabric!), so instead I stacked three boxpleats on top of each other. That allowed me to fit 4,5 metres of skirt into something that would fit the bodice.I then whipstitched the "outmost" pleat layer to the bodice, finished the seam that close the skirt in front (with a slit to be able to get in and out of the dress!), added a hook and eye to the top of the slit and called the thing a dress.
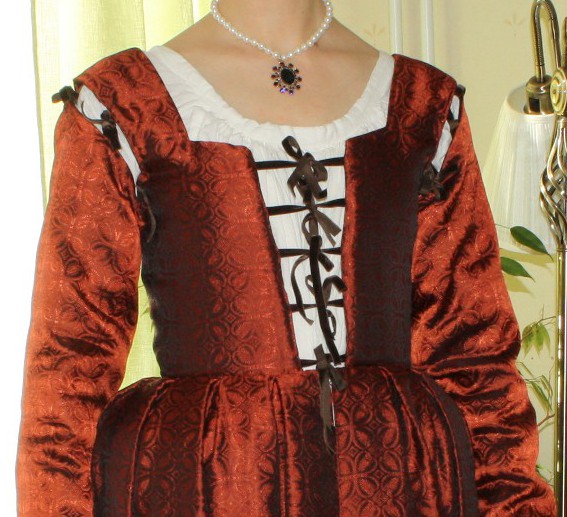
The finished bodice, with sleeves tied on and skirt attached (and a slightly too large bumroll underneath):
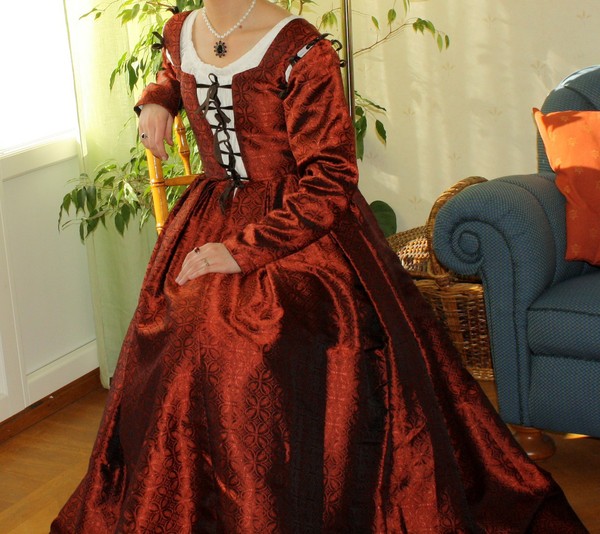
And the best photo I could get of the finished dress in my small living room:
There are small quirks in this project. Sleeves not enough "off the shoulder", the bodice isn't as stiff as I imagine it would have been with glued fabrics, the front doesn't quite close, the sleeves are a bit too long and I will need to make a proper bumroll and possibly add a strip of wool to the hem to protect the silk and add some poof the to silhouette, but overall I'm pleased!
Summary:
The Challenge:
#5, Bodice
Fabric:
Fabric:
Silk for outer fabric, ramie for lining, linen and wool for interlining
Pattern:
Pattern:
Self-drafted, based on patterns based on patterns for other stuff I have that fits me; sleeves drafted from the Tudor Tailor
Year:
Year:
ca 1540 +/- a decade or so.
Notions:
Notions:
thread (linen for interlining, polyester, sadly, for the rest). About 5 metres of polyester velvet ribbon for ties.
How historically accurate is it?
How historically accurate is it?
Materials as such: yes. Pattern of the silk brocade: can't say I'm certain. Mostly machine sewn and ouch, polyester thread. I'd say perhaps 65%, and that's me being kind to myself I guess.
Hours to complete:
Didn't keep track, perhaps 30 for the entire dress including re-hemming after first use since the lining stretched. Bodice: uhm, maybe two days worth of time?
First worn:
First worn:
22 february, for a larp. Heavy, but otherwise comfy.
Total cost:
Total cost:
Bodice: 0,5 m silk +0,5 m ramie, about $25+ ribbon. Uhm, about $30. Interlining fabric: scraps from other projects.
Entire project: a staggering $200, my most expensive project to date.

