White party outfit
Kategori: Allmänt, Stashbusting
Backlog of entries again, and also a non-historical project. This year, the most prestigious theatre in Stockholm, Dramaten, tried to organise a LARP for first time. Long story short: if queen Gertrude, Hamlet's mother, would be married a second time in a modern setting, she'd have a second bachelorette party, right? No risk of awkwardness, right? It was a cool concept, and the dresscode was very clear: white party. Less is not necessarily more. The fact that Bea Szenfeldt designed the costumes for the 'main cast' was daunting, to say the least. After looking through the shops I realised I'd have to make something myself if I wanted it to fit like I paid for it (not just paying for it and get a 'sort of' fit). Since I was, as usual, a bit short of time and know what I can do and cant, I threw the dreams of a suit overboard and started.
Part one: the bodice
Modeled on the corset I borrowed for Mrs Cooper's outfit but more adjusted to my size and without the front busk - partly because I thought it would look nicer without it and partly because I didn't want to wait for supplies. I used linen for both strength (a thick coutil-like weave) and outer fabric (my usual white smock/shirt fabric).
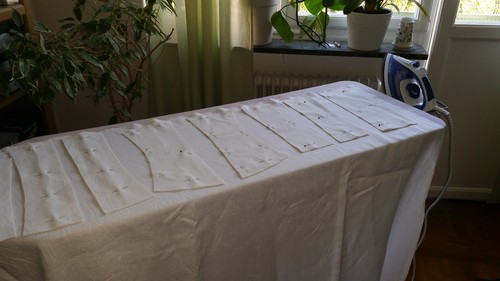
The pattern pieces adjusted to my size and cut in lining fabric, placed on top of the fashion fabric.
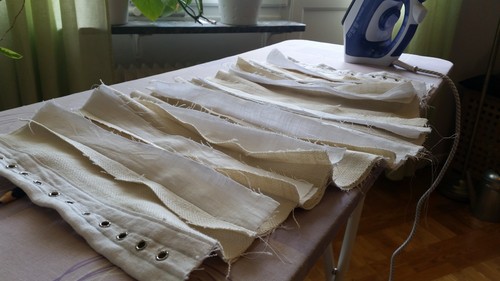
Pieces joined together, eyelets added (such scary stuff - of course I used and awl to make the holes first). Inside very messy, and as you can see I used rather wide seam allowances.
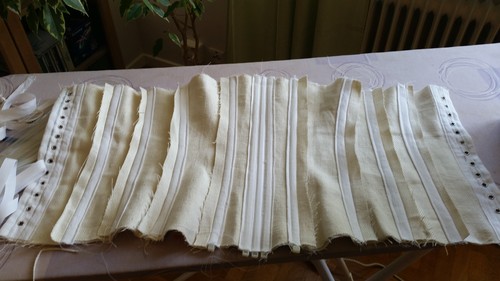
This is why. I trimmed them down a bit, folded both allowances for the fashion fabric and one for the lining to one side, folded the fashion fabric over and sew it down to create a boning channel. I then folded the remaining allowance for the lining to the other side and added a piece of cotton ribbon over it, creating a second channel on the other side of the seam as well as securing fabric "across" the seam.
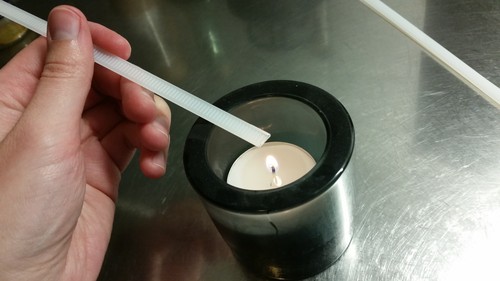
I then again used the supplies easily accessible, which meant cable ties for boning. A lot of them, but it's normal to spend a Saturday evening melting the ends of cable ties so that they don't pierce the fabric, right?

Satin bias strips for binding, and I'm done. To lace a lace corset this way without re-lacing it from scratch every time takes about 10 m of string, in case you wondered. I wouldn't recommend it....
Part two: the blouse
The trickiest part. Basically, I draped on the mannequin until I thought I had a plan and then changed just about everything when actually making it.
The trickiest part. Basically, I draped on the mannequin until I thought I had a plan and then changed just about everything when actually making it.
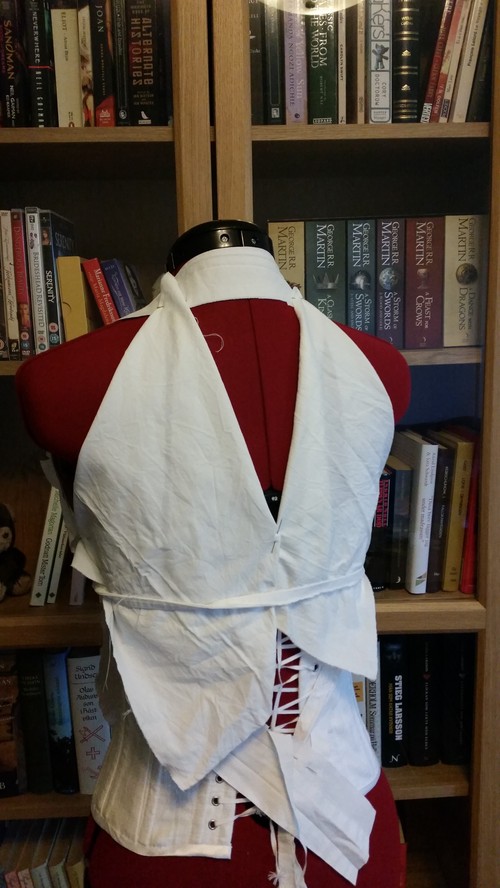
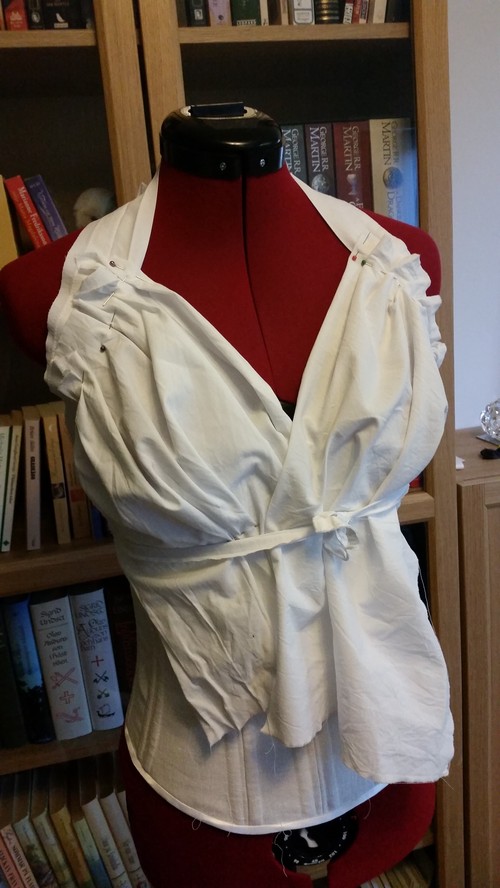
The plan for the back. In the end: There was no actual back. The plan for the front: I ended up making tucks instead. So much for draping :P By the end of this, I was so fed up with the whole I thing that I didn't bother taking a photo of the garment by itself. 'Nuff said.
Part three: The skirt
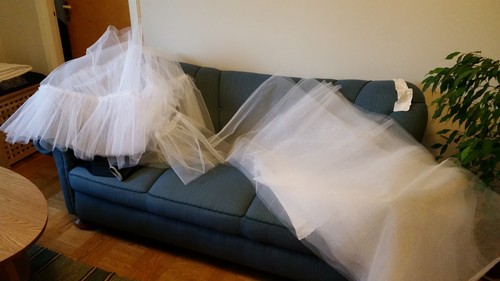
Apart from 'white' the inspiration post said "go wide, or go tall". Though "tall" would be nice, "wide" was easier, so to speak. 30 metres of tulle was ordered (I ended up only using about 20 of them, but hey, one never knows when 10 metres of tulle might come in handy, right?).
Still.
So. Much. Tulle.
Did I mention that my machine broke down in the middle of the corset? No? Well, it did. Thankfully, a friend was a hero and lent me her ancient and reliable Husqvarna.
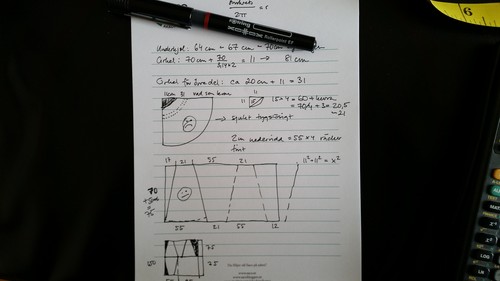
This, by the way, is how I make my layouts. Very neat. Not. You might just be able to make out that I planned for a full circle under-skirt but then changed my mind and made it in panels instead. There is a sketch like this for almost all my projects, all with the theme "how little fabric can I get away with using?".

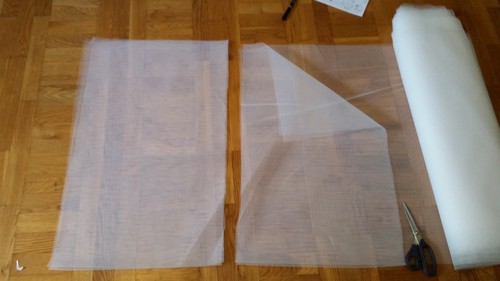
The pieces for the underskirt. A "yoke" and a skirt. Most of the tulle will be added to the yoke-seam rather than to the waist.
Cutting tulle. And more tulle. And even more tulle.
And even more tulle. The top layers (attached to the waist-band) has a separate frill, the underlayers not.
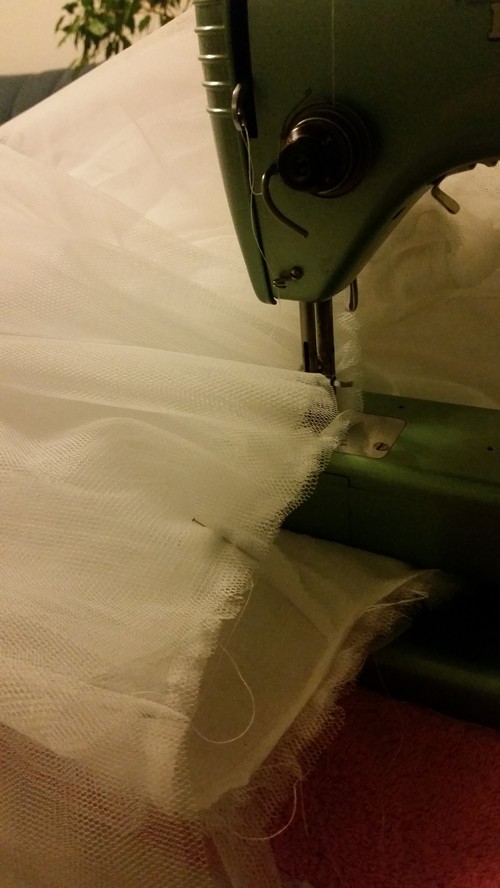
One thing that didn't work was to add a smocking thread by machine. So instead I approximated by hand. The layers are smocked/pleated 4:1 to the seam they are attached to, the frills 4:1 to the skirt layer. Lot of pleating. Good news is that with 7 layers it doesn't have to be even. At all.
I didn't want an elastic waistband, so instead I overcame my fear of using zippers and added a normal waistband - the scariest part and in the end I could have made the waist at least 1 cm smaller, but hey! it worked.
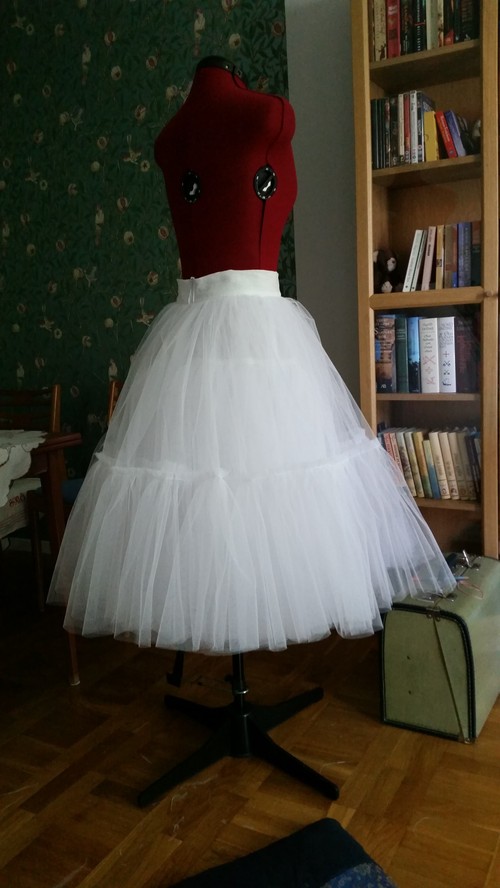
The finished skirt. Phew! This stage was like the night before I left for the event and had to squeeze the whole thing into a normal suitcase.
Finishing touches:
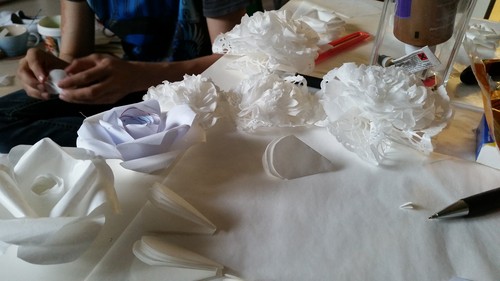
The night before the event, my ever-patient friend and I made paper flowers in great abundance. Had I thought about bringing better glue, I would have used more of them - but I used some!
The finished result:
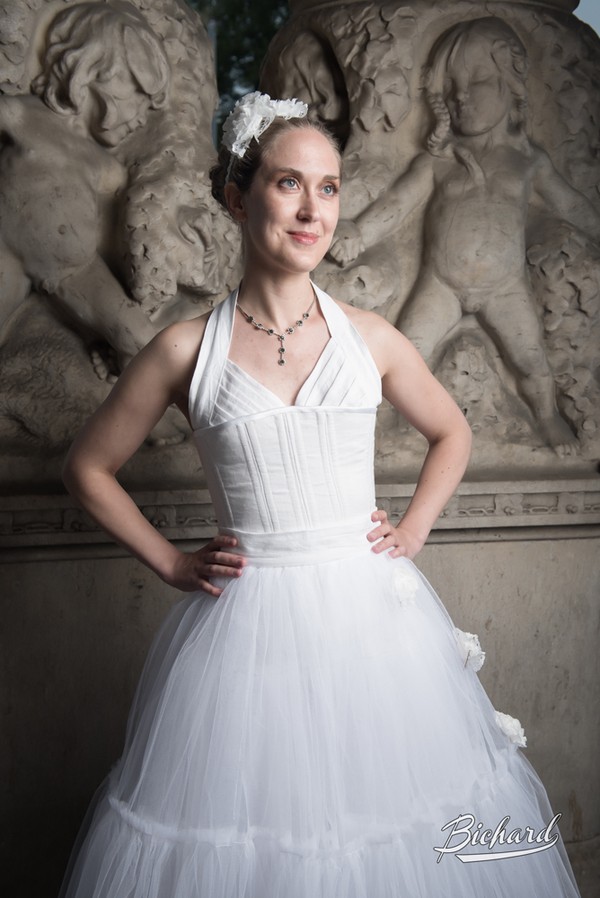
I'm pleased enough. I could have invested even more hours into it and achieved something more striking, but in the end it was one night only. Like my mother put it when she saw the picture afterwards: "I never thought white could look so... not innocent." So I guess the overall impression's not totally off, then.
Photo by John-Paul Bichard so of course everything looks great.
In the end I spent about 600 kr (70 euros) on materials, with some stuff out of my stash and some leftovers afterwards. I don't think I'd got off any cheaper bying something festive, so I call this a win.
Hours: I didn't count. I like to keep my sanity intact, thank you very much.
Hours: I didn't count. I like to keep my sanity intact, thank you very much.

